Affiliate disclosure: This article contains affiliate links. We may earn a commission if you purchase through them, at no extra cost to you.
How to sharpen an axe by hand: the short answer
Sharpening an axe by hand comes down to four stages: secure the head so it cannot move, remove damage and reshape the edge bevel with a 10- or 12-inch mill bastard file, refine the edge on a whetstone working from coarse to fine grit, then check the edge for burrs and consistency. The job needs nothing more than a file, a stone and some patience, though how long it takes depends on how damaged the edge is and how much material you need to remove.
A sharper axe is also a safer axe. Dull blades are more likely to bounce or glance off wood instead of biting into it, which is how serious injuries happen, as MorningChores points out. Interestingly, an axe does not need to be razor-sharp: This Old House notes that an overly fine edge is actually more prone to chipping during heavy chopping. The goal is a sharp, durable edge free of nicks and dents, not something you could shave with.
Key takeaways
- Dull is dangerous. A blunt axe glances off timber rather than cutting it, so sharpening is a safety task as much as a maintenance one (MorningChores).
- File first, stone second. A mill bastard file removes dings and reshapes the bevel; a whetstone then hones the edge finer and more gently (This Old House).
- Match the existing bevel angle. Work with the factory edge rather than grinding a new, steeper angle that will chip in use.
- Never overheat the metal. This is the main risk with bench grinders; hand methods avoid it almost entirely (This Old House).
- Finish with light strokes and check both sides. Remove the burr evenly, then test on scrap wood, not your thumbnail.
Why a dull axe is a safety problem, not just an inconvenience
It sounds counterintuitive, but the blunt axe is the one that hurts people. When the edge will not bite, the head bounces or glances sideways off the wood, and that is precisely when axes end up in shins and knees. MorningChores puts it plainly: learning to sharpen an axe by hand can be the difference between a well-stocked woodpile and a trip to the emergency room.
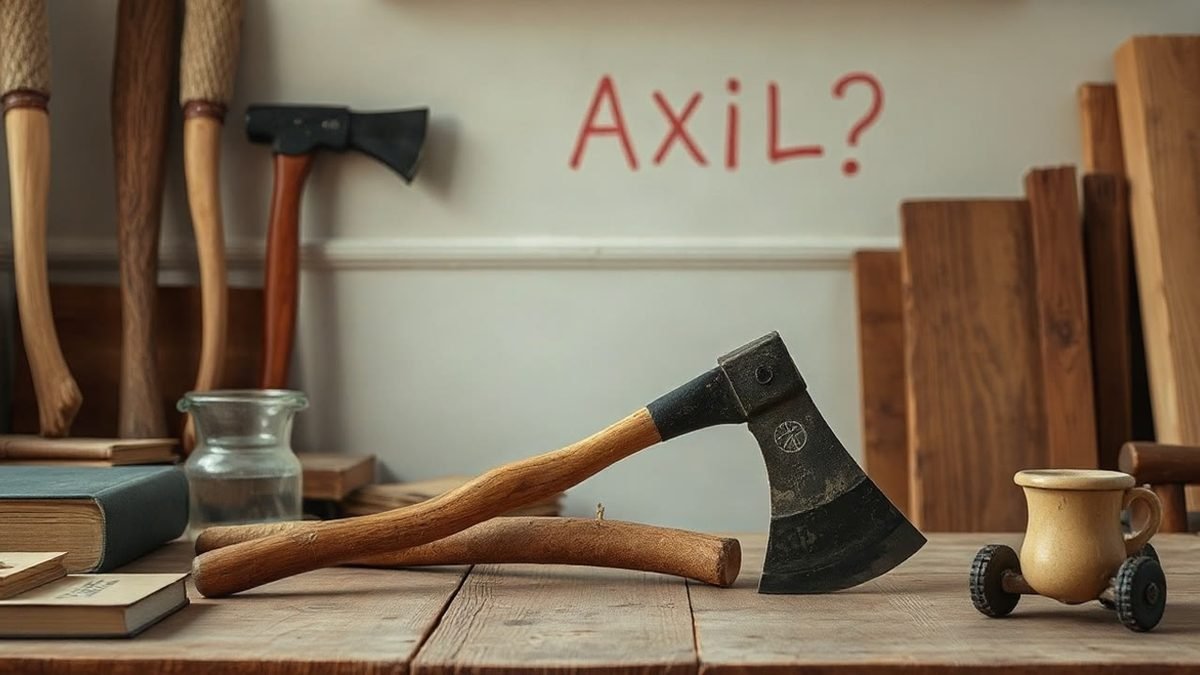
There is also an efficiency argument. A keen edge bites on the first blow, so you use fewer swings and less energy for every log split. In a small workshop or back garden, that difference is noticeable within the first few minutes of work.
That said, more sharp is not automatically better. This Old House explains that the ideal edge slices through wood fibres effectively without being so acute that it folds or chips under the shock of splitting. Aim for “workably sharp and evenly dressed”, and resist the temptation to chase a mirror polish.
What tools do you need to sharpen an axe by hand?
Hand sharpening is cheap to get into, and most of the kit will last years. Based on the tools recommended by This Old House and MorningChores, here is the core list:
- Mill bastard file (10 or 12 inch). This Old House describes this size as ideal for most axe-sharpening tasks, and it is the right tool for removing burrs and dings and reshaping the bevel.
- Whetstones in coarse, fine and super-fine grits. Dual-sided stones give you two surfaces in one, which MorningChores highlights as good value.
- Honing oil or water. Whichever your stone type needs. Water stones use water as a lubricant and cut fast; oil stones are traditionally used with honing oil and hold their flatness well, according to The Nature of Home.
- Non-slip base. A dampened cloth, a rubber mat or an old piece of yoga mat under the stone stops it skating across the bench, which MorningChores recommends.
- Safety kit. Cut-resistant gloves and eye protection; The Nature of Home lists both as essential before you start.
- Wire brush or rag. For cleaning sap, dirt and debris off the head before you put a file anywhere near it.
A bench grinder is sometimes suggested for badly damaged edges, but This Old House notes it requires more skill to avoid overheating the metal or removing too much material. If you are sharpening by hand, you simply do not face that risk, which is one of the method’s quiet advantages.
Choosing the right whetstone
The Nature of Home suggests matching your stone to three things: the axe’s current condition (heavily damaged edges need a coarser start), the hardness of the axe steel, and the finish you want. Natural stones have a distinctive cutting feel, while synthetic stones give consistent performance. For a first stone, a dual-grit synthetic is the forgiving choice: coarse for repairing, fine for honing.
How to sharpen an axe by hand, step by step
This is the sequence most hand-sharpening guides converge on. Work slowly; you can always remove more metal, but you cannot put it back.
- Clean the head. MorningChores recommends cleaning the blade before sharpening. Sap, sawdust and grime clog files and stones and stop you seeing the edge clearly. Scrub the head with a wire brush and wipe it down.
- Secure the axe. Clamp the head in a vice with the edge accessible, or wedge it firmly against something solid. The head must not rock or shift while you file, or your angle will wander and a slip becomes a cut.
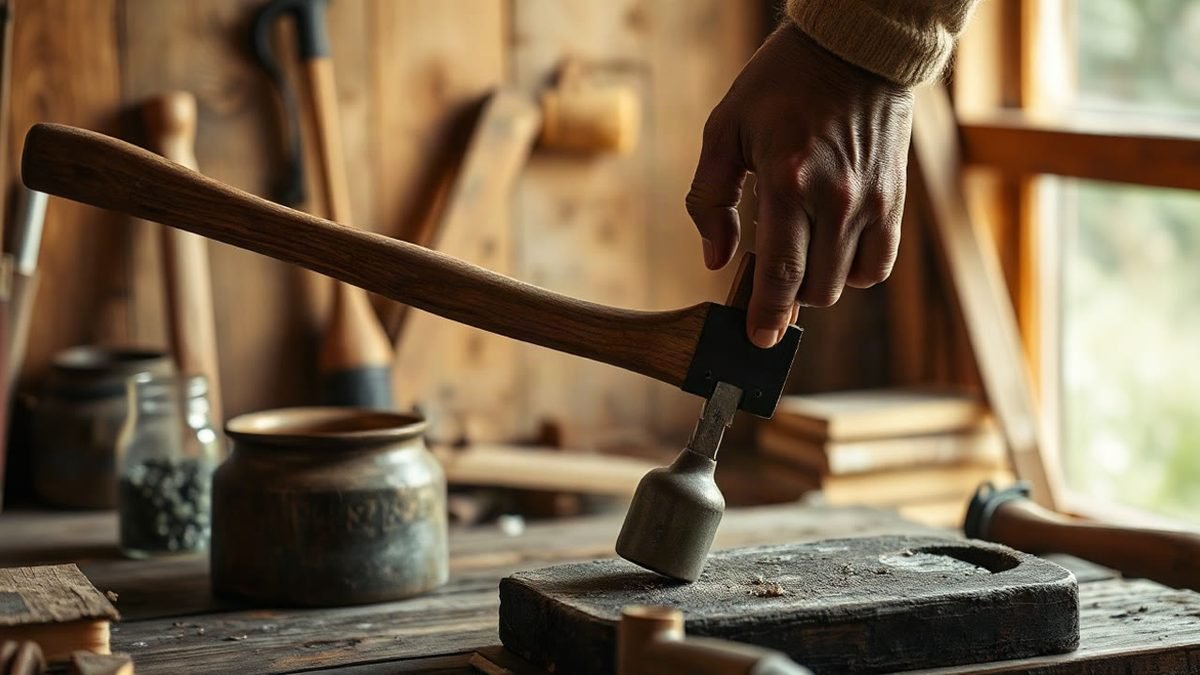
- File with the bevel, not against it. Push the file along the existing bevel angle using long, even strokes, lifting on the return. Work from the cheek (the flat side of the head) towards the edge, alternating sides so you remove damage evenly and keep the edge centred.
- Check for burrs. As you file, a fine wire burr forms on the opposite side of the edge. When you can feel it along the full length of the blade (with a fingertip held safely behind the edge, or by eye with good light), that side is done. Flip and repeat.
- Hone on the coarse stone. Lubricate the stone with water or oil as appropriate, sit it on your non-slip base, and move the bevel across the grit in smooth overlapping strokes. Whetstone sharpening is gentler on the edge than filing and carries far less risk of overheating the metal (The Nature of Home).
- Refine on the fine, then super-fine grit. Repeat the same strokes with progressively finer stones to polish out the scratches left by the previous grit. MorningChores suggests coarse, fine and super-fine as the full progression.
- Remove the final burr and protect the head. A few very light alternating strokes on the finest grit will drop the burr off. Wipe the head over with a lightly oiled rag before storage to prevent rust.
A simple readiness checklist
Before you call the job done, run through this quick check:
- Can you see a continuous, even bevel on both sides, with no flat spots or shiny blisters from old damage?
- Has the burr been removed from both sides, not just one?
- Does the edge line look straight when viewed edge-on against the light, with obvious nicks dressed out?
- Does the axe bite into a scrap of softwood with a light swing rather than glancing off?
- Is the head oiled and stored somewhere dry?
What angle should an axe edge be?
Axe bevel angles vary by maker and intended use, so there is no single factory-standard figure. Rather than measuring and grinding a new angle, the safest approach for hand sharpening is to match whatever bevel already exists on your head. If the axe splits firewood, err towards the steeper, tougher end; if you use a hatchet for finer camp tasks, a slightly keener angle is fine.
Watch the file or stone as you work: if it is riding on the flat cheek as well as the bevel, you have lifted too far; if it is cutting behind the edge line, you have gone too steep. Filing parallel to the existing bevel, as described above, naturally preserves the angle without any gauges.
How often should you sharpen an axe?
There is no fixed schedule; it depends on how much you chop and what you chop. The practical answer is to inspect the edge before every session. If you can see rolled spots, bright blisters of damaged metal or feel obvious dings with a careful fingertip check, it needs attention.
This Old House suggests thinking of the file as the tool for maintaining the edge between more thorough sharpenings. In other words, a few quick passes with a mill file before or after a session can keep a good edge going, and you only need the full stone progression when the edge genuinely deteriorates. Frequent light maintenance beats occasional heavy restoration, and it means less metal lost from the head over its lifetime.
Common mistakes to avoid
Hand sharpening is forgiving, but a few habits will undo good work or create hazards:
- Sharpening a dirty or loose axe. Debris clogs your abrasives; an unclamped head moves under pressure. Fix both before starting (MorningChores).
- Chasing a razor edge. As This Old House notes, an overly sharp edge chips more easily during chopping. Stop when the axe bites cleanly.
- Skipping grits. Jumping from file straight to super-fine just polishes scratches instead of removing them. Follow the coarse-to-fine progression.
- Grinding one side only. Uneven strokes push the edge off centre and make the axe steer sideways when it bites. Alternate sides regularly.
- Using a bench grinder carelessly. As This Old House notes, a bench grinder requires skill to avoid overheating the metal or removing too much material, so beginners may prefer hand methods.
- Skipping gloves and eye protection. Files snap, stones shed grit and the edge itself is a hazard. The Nature of Home lists gloves and eye protection as standard kit for a reason.
If you’re looking to build a dedicated workspace for tool maintenance, My Shed Plans offers a range of shed designs that could help you set up a practical sharpening and tool-care area.
Affiliate recommendation
Mentioned in this article: My Shed Plans
My Shed Plans is a collection of plans for building garden sheds.
Read the seller’s information →
Affiliate link: we may earn a commission if you purchase, at no extra cost to you. We have not tested this product.
FAQ
Can I sharpen an axe with just a file?
Yes. A 10- or 12-inch mill bastard file can restore a workable, safe edge on its own, and This Old House describes files as effective for most axe-sharpening tasks. You will not get the finest polish without stones, but for a splitting axe the file alone is often enough.
Should I use water or oil on my whetstone?
Use whichever lubricant your stone is designed for. Water stones use water and cut fast; oil stones are used with honing oil and hold their flatness well, according to The Nature of Home. Never swap lubricants: use each stone with the lubricant its maker specifies, since the wrong one can clog the stone’s surface.
How sharp should an axe actually be?
Sharp enough to slice wood fibres cleanly, but not shaving-sharp. This Old House warns that an overly keen edge is more prone to chipping during chopping. If the axe bites on a light swing and does not glance, it is sharp enough.
Is a bench grinder better than hand sharpening?
It is faster for badly damaged edges, but This Old House notes it takes more skill to avoid overheating the metal or removing too much material. Hand sharpening is slower, far more controllable and poses no risk of softening the edge, which makes it the better method for most DIYers.
How do I know when the axe is done?
Check the bevel for evenness on both sides, confirm the burr has been removed along the full edge, then test on a piece of scrap softwood. A finished edge should bite cleanly with a modest swing and leave a smooth kerf rather than crushing the fibres.
Conclusion: a keen axe, kept keen
Sharpening an axe by hand is one of those skills that pays for itself the first afternoon you use it: fewer swings, cleaner splits and far less risk of a glancing blow. A file, a couple of stones, a non-slip mat and half an hour are all it takes, and regular light touch-ups mean you rarely face a full restoration.
If sharpening tools is becoming a regular part of your workshop routine, it may be worth reading our guide to choosing a planer blade sharpener jig for your drill, which covers powered honing options for other edges. And if the reason you are splitting all that firewood is a shed or workshop build on the horizon, My Shed Plans (affiliate link) is a seller’s product offering shed plans; it may suit DIYers who prefer to follow a ready-made design rather than drafting their own, though you should check the seller’s details before buying. Before and after any long session at the bench, it is also worth understanding how blade geometry affects results, which our article on what causes tear-out when using a hand plane explores in depth.