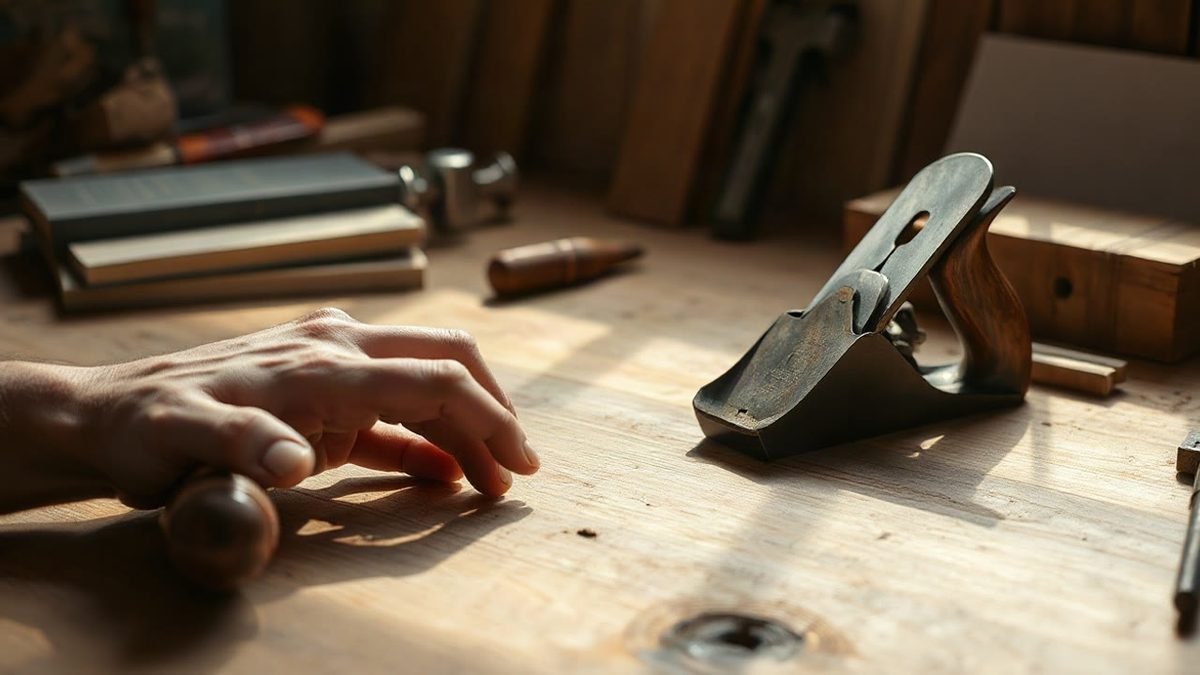
Tear-out happens when your plane blade lifts and rips wood fibres out of the surface in small chunks instead of slicing them cleanly away. It is caused by a combination of the grain in the board (direction, figure and interlocked grain), a blade or setup problem (dull edge, too deep a cut, chipbreaker set too far back), and planning against the grain. Almost every one of those causes is fixable, which is why tear-out is far less mysterious than it feels when you are standing over a freshly gouged panel (source: Plane & Patina).
Key takeaways
- Tear-out is a mechanics problem: the blade levers fibres up ahead of the cut instead of shearing them, usually because it is cutting against the grain or taking too heavy a shaving.
- A dull iron and a poor setup (chipbreaker, depth of cut, frog seating) sit behind a large share of all plane problems, so rule those out first every time (Plane & Patina).
- Figured, swirling and interlocked grain is far more tear-out prone than straight, tight-grained stock; careful stock selection is the cheapest fix (Popular Woodworking).
- Setting the chipbreaker close to the edge, raising the cutting angle and taking lighter cuts all reduce tear-out on difficult boards (Fine Woodworking).
- Reading the grain direction with a raking light and planing downhill with the fibres is the single most useful habit to build.
What actually causes tear-out when you use a hand plane?
At the blade, the physics are simple. A plane iron is a wedge driven through wood. In an ideal cut, the edge shears a shaving of a controlled thickness and the fibres ahead of the edge are held down and sliced cleanly. When the wedge geometry works against you, the blade acts like a lever instead: it pushes the fibres up and forward until they snap below the surface, leaving those tell-tale pits and ragged gouges (source: The Joiner’s Bench).
Whether the blade slices or levers depends on three things working together: the grain you are cutting, the sharpness and geometry of the edge, and how the plane is set up. When tear-out appears, one or more of those three has failed. The encouraging part is that a hand plane has very few moving parts, so the list of causes is short and you can work through it in order rather than guessing (source: Plane & Patina).
How does grain direction cause tear-out?
Wood fibres run in a direction. When your plane moves against that grain, it tends to lever fibres up ahead of the cut rather than slicing them. Think of stroking a cat from tail to head versus head to tail; the fibres want to tear away from the surface rather than lie back down (source: The Joiner’s Bench).

The fix starts with reading the board before you cut. Hold it up to a raking light at roughly 45 degrees and look along the surface. The grain lines on the edge of the board are your clearest guide: plane in the direction the lines angle up toward you, so the fibres are swept down and back by the blade rather than lifted and torn forward (source: The Joiner’s Bench).
Bear in mind that grain direction can change along a single board. A board that planes beautifully for two feet may reverse on you in the third. When in doubt, take a light test pass at each end of the board and see which one shears cleanly.
Figure and interlocked grain
Straight-grained woods such as hard maple or beech are far more forgiving than the figured, swirling stock many of us choose because it looks good. Fine Woodworking notes that woods like black cherry can have grain that rises and falls so much it resembles ocean waves, and their diffuse-porous surface can make reading the grain genuinely difficult. The price of choosing beautiful, swirling grain is often tear-out if you plane it the same way you would a boring board (source: Fine Woodworking).
Interlocked grain, where the fibre direction alternates between growth layers, is the worst offender because no single planing direction works across the whole surface. With those boards you rely on technique and blade setup rather than direction alone.
Is a dull blade the real reason my plane tears out?
Very often, yes. A sharp edge shears fibres; a dull one crushes and then tears them. As Plane & Patina put it bluntly, planes are sold with a ground shape, not an edge, and an edge dulls with use, so “sharpen it” is the honest first answer more often than any other cause. Before you blame the wood or the plane, put a fresh honed edge on the iron and try again (source: Plane & Patina).
Sharpening is a skill worth over-learning, because a properly honed edge with a tiny micro-bevel lets you take a controlled, thin shaving on difficult grain. If you also run a thickness planer in the shop and want cleaner work from it too, our guide to the best planer blade sharpener jig for a drill covers the machine-side of blade care.
Does plane setup contribute to tear-out?
It does, often more than woodworkers realise. Plane & Patina identifies a dull iron and a setup fault (frog seating, chipbreaker position, depth of cut, lateral adjustment) as the two causes behind a startling share of all plane problems, and recommends ruling them out before treating anything as a defect in the tool itself (source: Plane & Patina).
The chipbreaker (cap iron)
The chipbreaker is a deliberate anti-tear-out device. Set close to the cutting edge, it bends the shaving sharply upward almost immediately after the edge cuts, which stops the fibres ahead of the blade from lifting and snapping. Set too far back, and it does almost nothing. Closing the gap between chipbreaker and edge is one of the most effective changes you can make on difficult grain (source: The Joiner’s Bench).
Depth of cut
A heavy shaving gives fibres more length to lever against, so it tears more readily. Taking a thinner cut is one of the core strategies for handplaning tear-out-prone woods outlined by Fine Woodworking. On a nasty board, reduce the cut until the surface comes out clean, even if it takes more passes (source: Fine Woodworking).
Can the cutting angle stop tear-out?
Yes, and it is one of the classic remedies. Raising the effective cutting angle makes the blade behave more like a scraper: it shears the fibre at a steeper attack, which holds fibres down instead of prying them up. Fine Woodworking lists increasing the cutting angle, by modifying the blade or chipbreaker, among the main strategies for taming tear-out on gnarly grain (source: Fine Woodworking).
Practically, this means either fitting a higher-angle iron, modifying the blade or chipbreaker to increase the cutting angle, or reaching for a plane set to a pitch of 50 degrees and above on the worst boards. The trade-off is more effort per pass, so reserve steep angles for when lighter cuts and a close chipbreaker are not enough.
Skewing the plane
Skewing the plane slightly across the direction of travel also raises the effective cutting angle and produces a shearing action rather than a straight wedge cut. It is a zero-cost technique: same plane, same iron, just a different presentation angle. Combined with a light cut it often turns a tearing pass into a clean one (source: The Joiner’s Bench).
How does stock selection help you avoid tear-out?
The cheapest anti-tear-out tool is a careful eye at the lumber rack. Popular Woodworking makes the point with a grin: asked how he would flatten a long, windswept, crooked hickory board from a hillside tree, the writer jokes he would chop it into stove lengths, because the serious answer is that the best way to reduce tear-out problems, with both hand and machine tools, is careful stock selection (source: Popular Woodworking).
When a project demands clean handplaned surfaces, favour straight, tight grain and put the wild boards where you will machine or sand them instead. Reversing grain, big swirls around knots and interlocked figure all predict tear-out; learn to spot them before money changes hands.
If you are sourcing and milling your own timber for outdoor projects, our guide to what a zero-clearance insert is for pairs well with stock prep at the table saw.
Why does tear-out sometimes appear only in patches?
Localised tear-out usually means localised grain trouble: a swirl around a knot, or a short section of reversed or interlocked grain, which is notoriously prone to tear-out. Because the direction changes across the board, no single planing direction fixes it. Work those patches from both directions with a very light cut, then switch to a scraper or a steep-angle plane for the last few shavings.
Also worth checking: a shaving slot wedged with a splinter, or a chipbreaker that is not seated properly against the iron can leave a stripe of tearing down an otherwise clean pass. Pop the iron out and inspect the mating surfaces if the tear-out keeps returning to the same line.
A practical checklist for tear-out-free planing
- Read the grain. Raking light at 45 degrees, then plane in the direction the edge grain lines angle up toward you (The Joiner’s Bench).
- Hone the iron. Assume it is dull until proven sharp; a fresh edge solves more problems than any other single fix (Plane & Patina).
- Close the chipbreaker. Set it a hair behind the cutting edge on figured stock.
- Take a lighter cut. Thin shavings tear far less than heavy ones (Fine Woodworking).
- Skew the plane. Present the blade at an angle to raise the effective cutting angle for free.
- Go steep if needed. A higher cutting angle or a scraper for the worst patches (Fine Woodworking).
- Choose better stock next time. Prevention at the lumber rack beats every cure on this list (Popular Woodworking).
One safety note worth repeating: whenever you are inspecting a blade, adjusting a chipbreaker or picking a splinter out of the mouth, retract the iron fully or remove it from the plane first. Sharp edges belong in wood, not fingertips.
FAQ
Why does my plane tear out even when I plane with the grain?
Grain direction is only one of the causes. A dull iron, a chipbreaker set too far back, a shaving that is too thick, or localised interlocked figure will each cause tear-out even when your direction is correct. Work through blade sharpness and setup before blaming the board (source: Plane & Patina).
Does a low-angle plane cause more tear-out than a bevel-up plane?
The geometry that matters is the effective cutting angle at the wood, not the name on the tote. Low-angle presentation attacks fibres at a shallower angle, which can pry them up on figured stock. Raising the effective angle, with a steeper iron, a back bevel or a close chipbreaker, is what reduces tear-out (source: Fine Woodworking).
Should I just sand out tear-out instead?
Sanding will eventually level the damage, but it removes material unevenly, rounds over arrises and can cost you the flat, crisp surface that handplaning is meant to deliver. Fixing the cause usually costs less time than sanding out a bad pass, particularly on a wide panel.
What is the fastest fix for tear-out on a figured board?
Close the chipbreaker right up to the cutting edge, take the lightest shaving that removes wood, and skew the plane a few degrees. That combination addresses the levering action directly and requires no new tools (source: The Joiner’s Bench).
Can softwoods like pine be planed without tear-out?
Yes, but pine and similar softer species punish technique errors more than dense, straight-grained hardwoods like maple or beech (source: The Joiner’s Bench). A very sharp edge, a light cut and attention to grain direction around knots will keep pine clean.
Wrapping up
Tear-out is not bad luck or a flaw in your plane; it is the blade levering fibres instead of shearing them, caused by grain direction, a dull edge, an open chipbreaker or a cut that is too heavy. Read the grain, hone the iron, close the gap and go lighter, and most boards that tore yesterday will plane clean today. If you want to take the next step in surface preparation, our guide to what a zero-clearance insert is for is a good companion read for cleaner machine work too.