Affiliate disclosure: This article contains affiliate links. We may earn a commission if you purchase through them, at no extra cost to you.
How to Use a Torque Wrench Properly
To use a torque wrench properly, set it to the torque value specified for the fastener, apply force to the handle, and pull smoothly and steadily until it signals that the target torque has been reached (a click on a click-type wrench). Then stop immediately: continuing to pull past the signal will over-tighten the fastener.
That is the short version. In practice, there are several details that separate accurate, repeatable results from stripped threads and warped components, so it is worth working through the whole process properly.
Key takeaways
- Always find the correct torque specification for the specific fastener before you start; guessing defeats the purpose of the tool.
- Apply force smoothly and steadily, and stop the moment the wrench clicks or signals; jerky movements lead to inaccurate readings.
- Many manufacturers recommend winding click-type torque wrenches back down to a reduced setting before storage to relieve the internal spring; check the manual for your model’s specific recommendation.
- Use the middle of the handle grip, not the end, so you apply force through the intended pivot point.
- Drop the wrench or use it as a breaker bar and you may throw its calibration off, so treat it as a precision instrument, not a general-purpose ratchet.
What a Torque Wrench Actually Does
A torque wrench lets you tighten bolts and nuts to a specific level of tightness, measured as rotational force. This matters because over-tightening can damage the fastener, crack components or warp surfaces, while under-tightening lets fasteners work loose. As the guide at Torque Converter explains, the tool prevents both of those failure modes by letting you hit a precise, specified torque value.
Common types of torque wrench
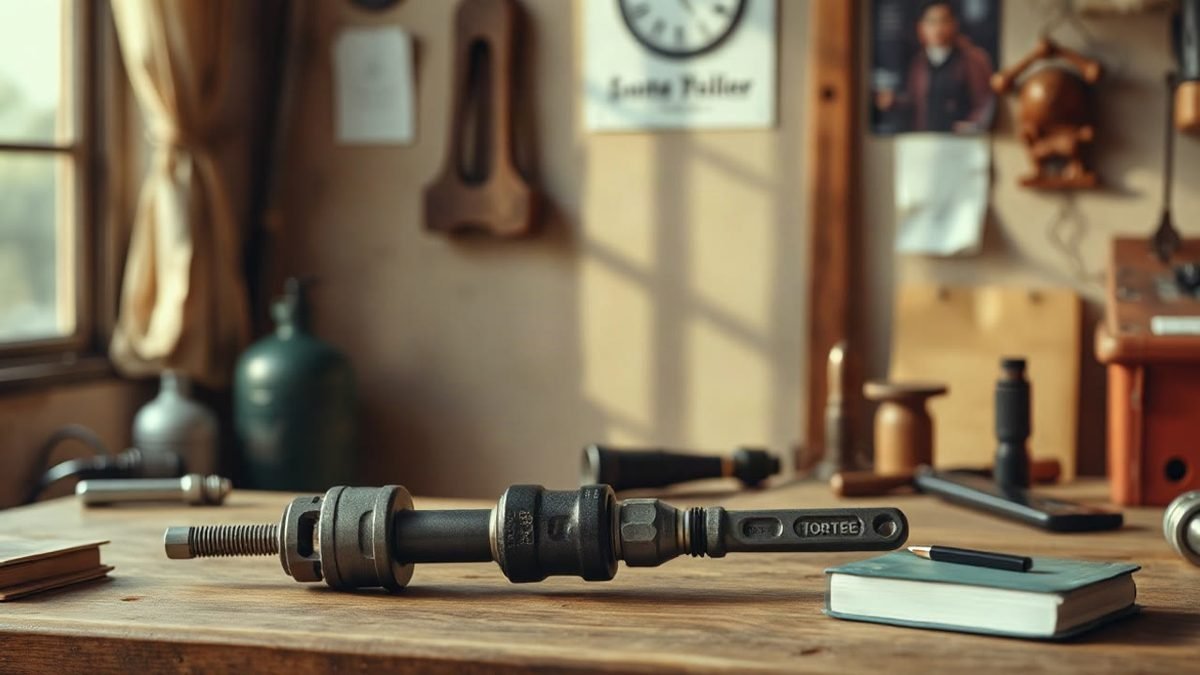
Most DIYers use a click-type wrench. Internally it houses a calibrated spring under compression that pushes a hardened roller against a pivoting block; when the applied force exceeds the spring force, the block slips and strikes the wall of the handle, producing the familiar audible click, according to Torque Converter.
The other common design is the beam wrench. It works on pure material elasticity: a main bending beam deflects under load while a secondary indicator beam stays straight, and a scale at the handle base reads the deflection. It has no internal spring parts, which makes it simple and robust, though less convenient for repetitive work.
There is also a digital type, which displays the torque reading on a screen. For most hobby workshops, a click-type wrench in a sensible range covers the majority of jobs.
Getting Started: Settings and Preparation
Before touching a bolt, do three things: check the wrench is in good condition, find the correct torque specification, and set the wrench accordingly.
Find the correct torque value
The specification usually comes from the manufacturer of whatever you are working on: a car manual, a bicycle component sheet, or the documentation for a machine. Never guess. As Tool Trip notes, setting the right torque specification prevents damage to fasteners, while proper calibration is crucial for accurate tightening.
Set the wrench
On a click-type wrench, unlock the handle, rotate it until the scale shows the target value, then lock it again before use. Take a moment to double-check the units (Nm versus lb-ft, or lb-in for smaller fasteners). Mixing up units is one of the fastest ways to badly over-tighten something.
Check the torque range
Match the wrench to the job. Different types have different torque ranges, as Tools Guide points out, and using a wrench near the very top or bottom of its range gives poor accuracy. As a rough rule, choose a wrench whose mid-range covers your target value.
The Correct Technique, Step by Step
- Thread the fastener by hand first. Seat the nut or bolt until it is snug by hand or with a plain ratchet, so the torque wrench only does the final tightening.
- Fit the socket squarely. A socket pushed on at an angle changes the effective lever length and skews the reading.
- Grip the centre of the handle. Use the marked grip area, not the head and not the very end of the shaft.
- Pull smoothly and steadily. A smooth, continuous pull, rather than jerking or sudden movements, gives an accurate result, as Tools Guide recommends.
- Stop at the signal. The moment you feel and hear the click, stop pulling. Repeated clicking past the point of release tightens the fastener beyond the setting.
- Release the handle pressure. Let the handle return gently; do not let it snap back under load.
If you are tightening a pattern of bolts, such as a wheel hub or a machine flange, bring every fastener up in stages, working in the sequence specified by the equipment manufacturer, rather than taking each one straight to full torque in turn. Always use the torque value given in the vehicle or equipment manual, as specifications vary between makes and models.
Common Mistakes That Ruin Accuracy
- Using the wrench as a breaker bar or ratchet. Breaking loose seized fasteners with a torque wrench can damage the mechanism and throw out calibration.
- Dropping it. A fall onto a concrete floor is enough to affect the spring setting. If you drop one, it is sensible to have it recalibrated before trusting it again.
- Gripping anywhere but the handle. Apply force to the handle itself, as the tool’s mechanism is designed to be used this way.
- Using extensions and adapters without adjusting for them. An adapter such as a crow’s foot or extension can alter the relationship between the setting on the scale and the torque actually delivered at the fastener. Torque Converter’s guide covers adapter calculations for this; unless you are confident with the maths, it is safer to avoid adapters on torque-critical jobs.
- Storing it wound up. Leaving the spring fully compressed for months can affect its calibration, which is why storage at a reduced setting is standard practice.
Quick Reference: Do and Don’t
- Do verify the units and setting before every job.
- Do pull slowly; a slow pull near the click makes it easier to feel the exact release point.
- Do wind the setting down before storage (check your wrench’s manual for the manufacturer’s recommendation).
- Don’t use the wrench to loosen bolts.
- Don’t oil or immerse the mechanism unless the manufacturer says so.
- Don’t assume a knocked-around old wrench is still accurate; periodic calibration checks are part of owning one.
Looking After Your Torque Wrench
Regular maintenance keeps the wrench reliable and extends its life, as Tool Trip highlights. In practical terms that means keeping it clean and dry, storing it in its case rather than loose in a toolbox drawer, and winding click-type wrenches back to a low setting after use.
Calibration is the other half of the equation. Manufacturers typically state a recommended recalibration interval (commonly expressed in cycles or months of use); check the paperwork that came with your wrench. For most hobby users, occasional professional recalibration, or at least a sanity check against a known-good wrench, is enough.
One habit worth adopting: after each project, note the wrench’s condition in your workshop log. If it has been dropped, soaked, or used heavily, flag it for a calibration check rather than waiting for the scheduled interval.
Worked Example: Torquing a Wheel Lug Nut
Suppose your car’s manual specifies a torque figure for the wheel lug nuts, and your click wrench reads in Nm with a range that covers that setting.
- Hand-start all the lug nuts, then snug them with a plain ratchet in a star pattern.
- Unlock the torque wrench handle and set it to the figure in your vehicle handbook; lock the handle.
- Fit a socket that matches the nut size squarely onto the wrench.
- Working in a star pattern, pull smoothly on the centre of the handle until each nut clicks once. Stop at the first click.
- Go around the pattern a second time; if any nut clicks again almost immediately, it had not fully reached torque the first time, and a gentle second click brings it to spec.
- Wind the wrench back down to its lowest scale value and return it to its case.
The same sequence applies to any torque-specified fastener: snug first, then final torque with the wrench, smoothly and in the right order.
Affiliate recommendation
Mentioned in this article: TedsWoodworking
TedsWoodworking is a large collection of woodworking project plans.
Read the seller’s information →
Affiliate link: we may earn a commission if you purchase, at no extra cost to you. We have not tested this product.
FAQ
Can I use a torque wrench to loosen bolts?
No. Loosening puts the mechanism under loads it is not designed for and can disturb its calibration. Use a普通 ratchet or breaker bar for undoing fasteners, and reserve the torque wrench for final tightening.
Should I wind the wrench back down after use?
For most click-type wrenches, yes. Setting it back to a low value (often the lowest on the scale) relieves the spring during storage. This storage advice is commonly given by manufacturers for click-type wrenches, so it is worth checking your own manual. Always follow your own wrench’s manual, as a few designs differ.
How accurate is a click-type torque wrench?
Manufacturers quote an accuracy tolerance for their torque wrenches, and the exact figure varies between models and brands, so check the specification printed on your own tool or in its manual. Accuracy falls off near the extremes of the scale, which is why choosing the right range matters.
How often should a torque wrench be recalibrated?
Follow the manufacturer’s stated interval, which varies by brand and usage. In practice, any drop, heavy use, or sign of inconsistent clicking is reason enough to have it checked sooner.
Do I need more than one torque wrench?
Not usually. One wrench whose range comfortably covers your most common jobs, typically a smaller one for bikes and machinery plus a larger one for car wheels if you do both, is enough. If you work across very different torque values, two wrenches used in their mid-ranges will give better results than one stretched across its limits.
Conclusion
Using a torque wrench properly comes down to a handful of habits: confirm the specification, set and check the wrench, pull smoothly from the centre of the handle, stop at the click, and store the tool wound down in its case. Do that consistently and your fasteners will be neither over-tightened nor loose, which is the whole point of owning the tool.
If you are kitting out a small workshop or planning bigger builds where correct fastening really matters, a set of detailed project plans can help you work with the right fixings from the start. TedsWoodworking (affiliate link) is a large library of woodworking plans sold by its creator; it suits people who like working from step-by-step drawings, though anyone expecting a substitute for hands-on tool skills will find it is not that. For torque wrench technique itself, the guides linked above are a solid starting point.